Posted on

Natural coconut charcoal vs quick light charcoal: what’s the difference?

Natural coconut charcoal vs quick light charcoal_ what’s the difference_

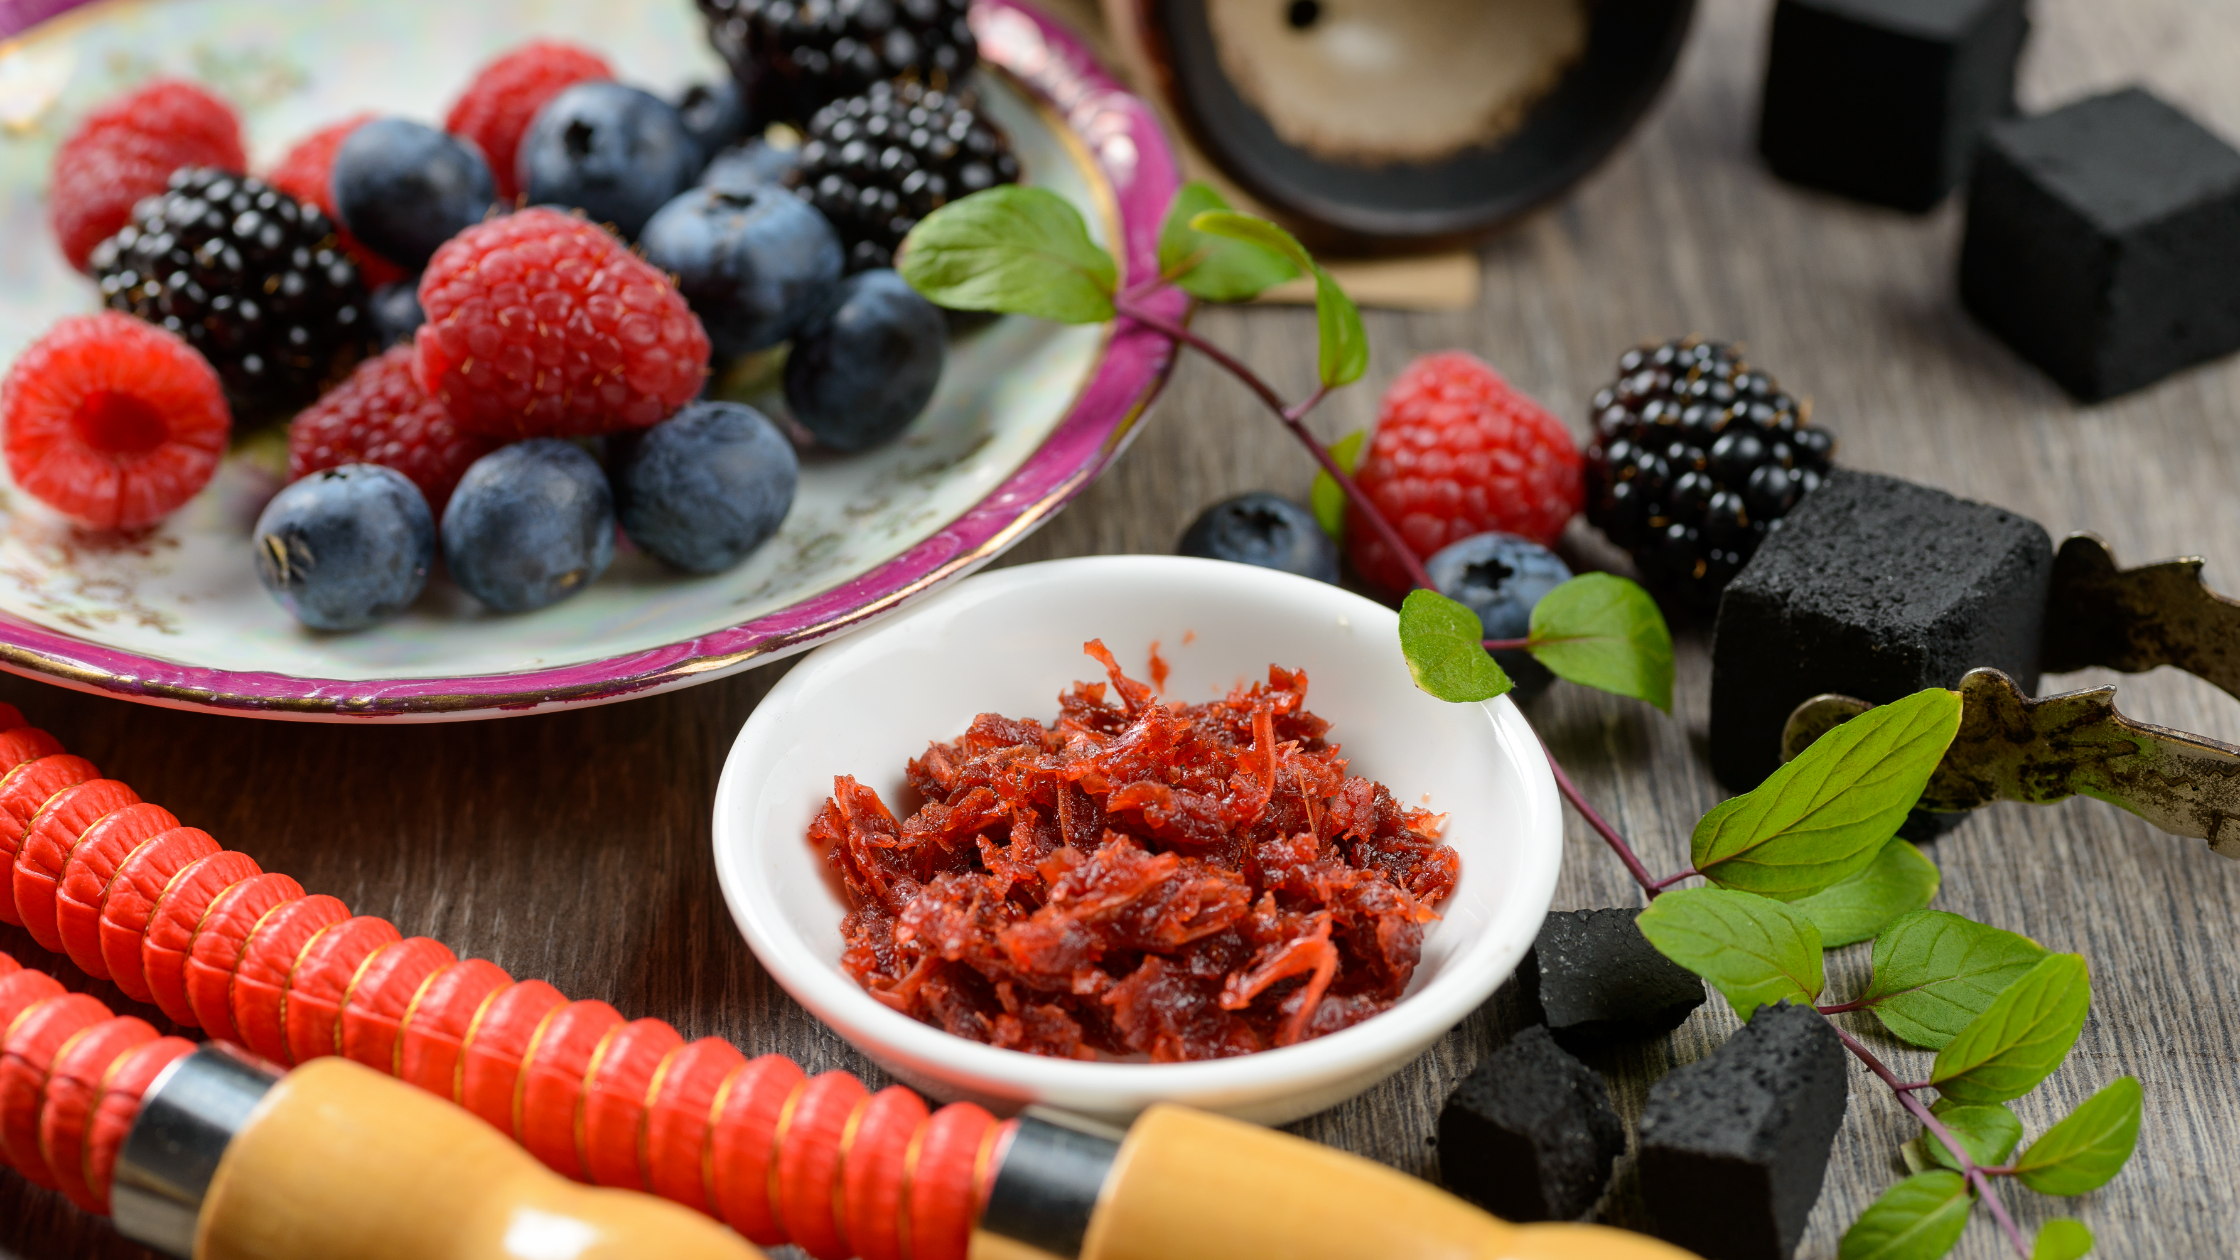
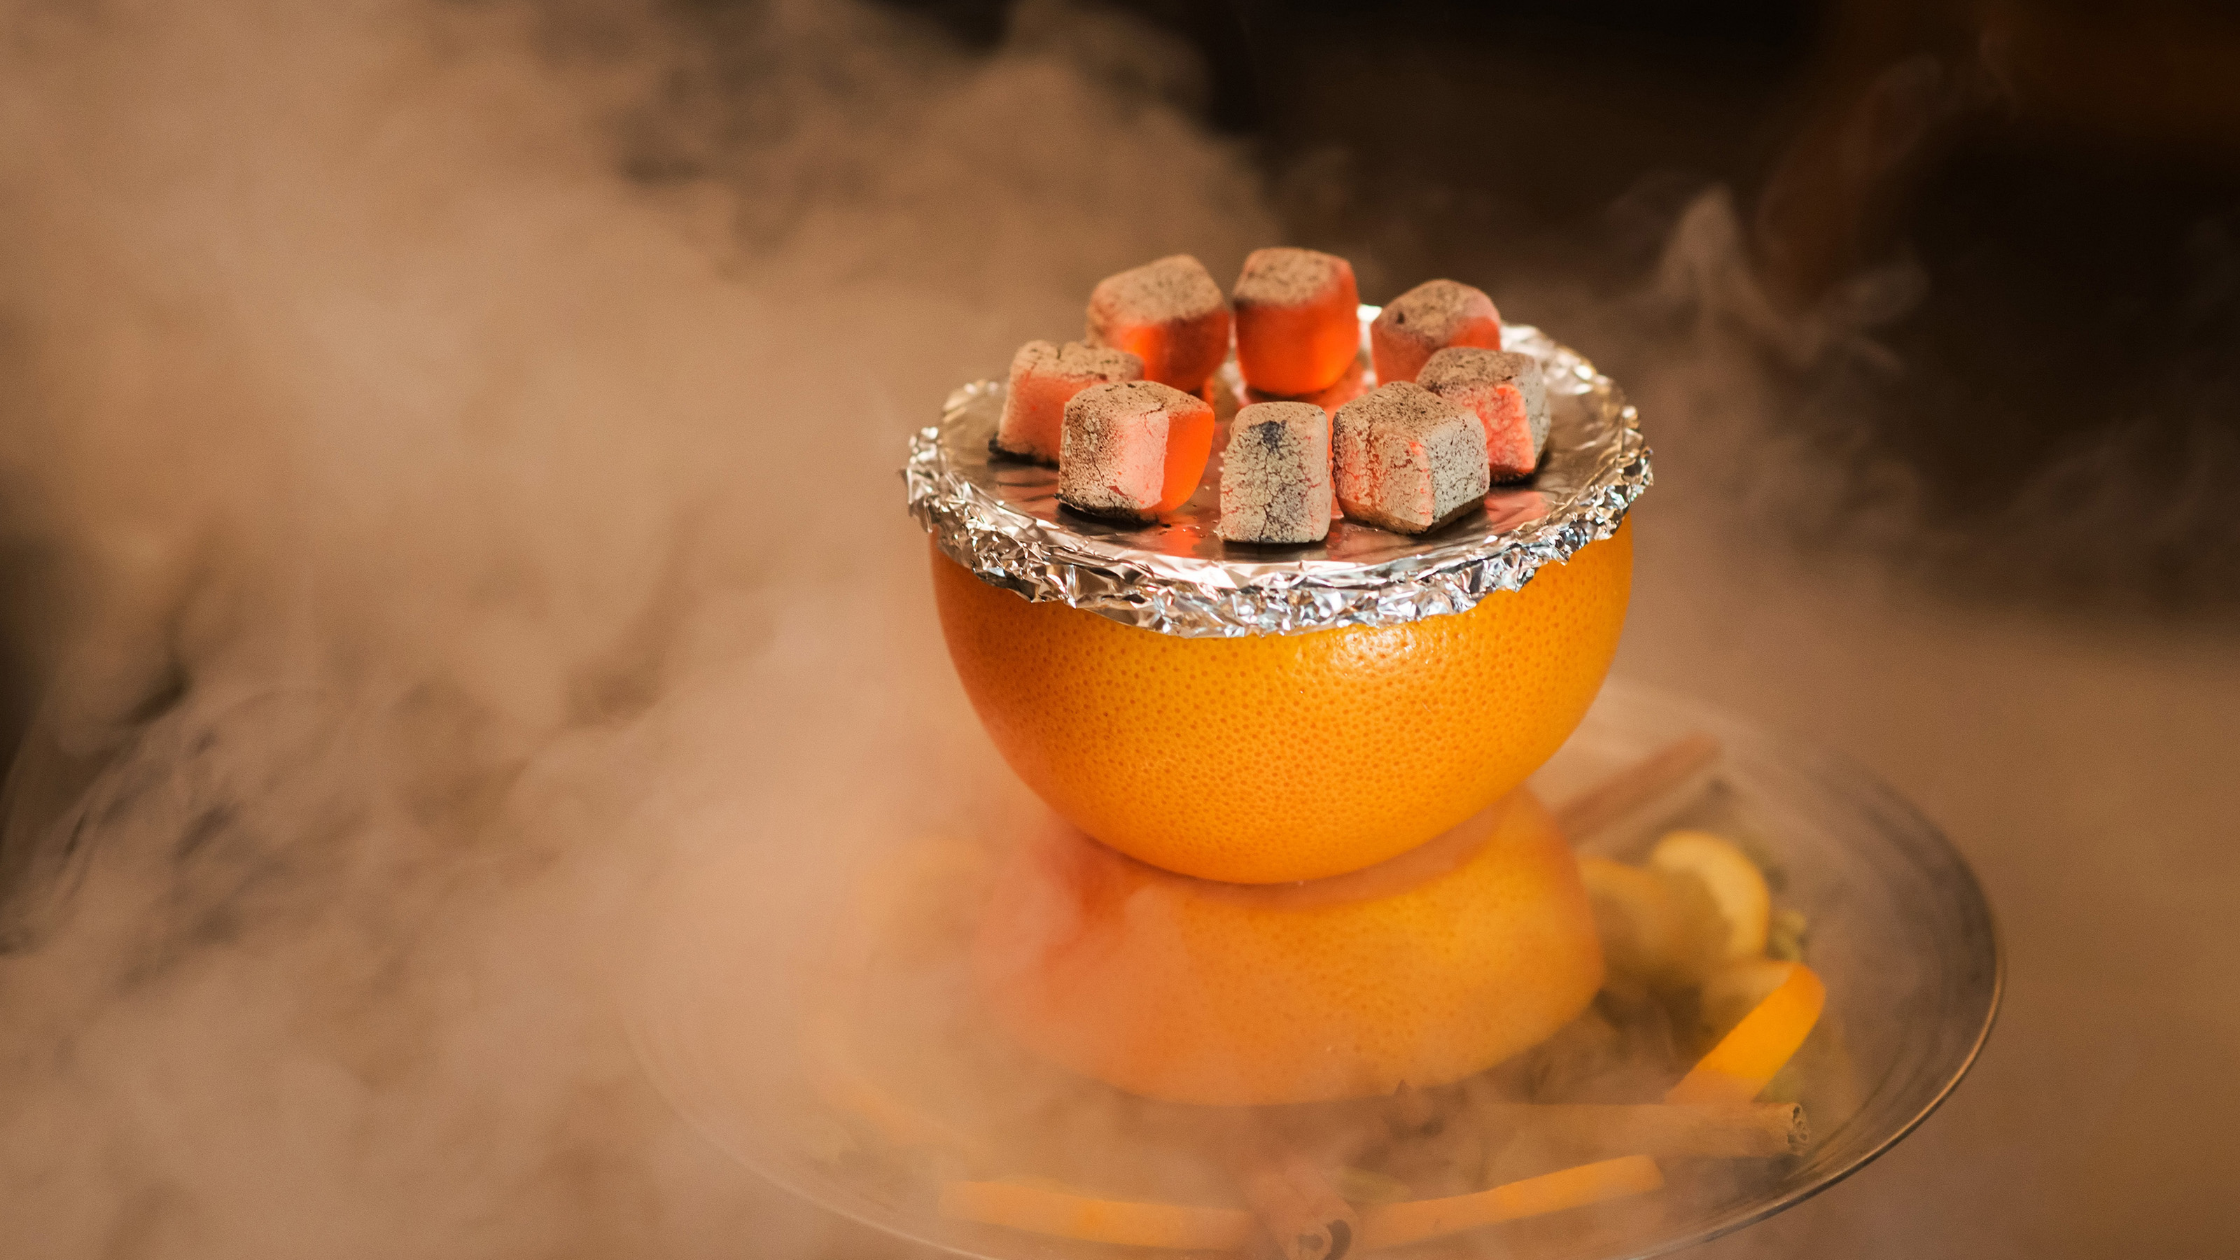
One aspect that is often overlooked is the coals that are used to heat the bowl. The majority of hookah users will opt for quick light coals because of their convenience. It’s easy to dismiss the importance of using higher quality coals, which is why we decided to give you a more in depth look at what exactly differentiates natural coconut charcoal and quick light charcoal.

We will list both the pros and cons of each and we will let you decide which one floats your boat.

Natural coconut charcoal

Pros:

– The biggest advantage of natural coals, in our opinion, is how much healthier it is compared to quick lights. The natural coconut charcoal does not contain any of the toxic chemicals found in your regular quick light charcoal. 

– They are odorless and more eco-friendly. 

– They provide and sustain more heat. 

– Much better tasting then quick light coals. Expect a smoother and cleaner smoke when using coconut coals.

However, natural coals are not perfect as they do have some downsides.

Cons:

– They take much longer to light. Usually anywhere between 6 to 10 minutes. 

– You will need an independent heat source to ignite them (stove or burner).

Now let us take a look at the quick light charcoal and see how it matches up against natural coals.

Quick light charcoal

Pros:

– It is extremely convenient to use. You can light these guys simply with a lighter. 

– More user friendly for beginner hookah users.

– They can be very practical on the road or in emergencies, (I use the term emergency lightly). 

Cons: 

– People often notice a very chemical taste when smoking their flavored shisha. This is to be expected considering they contain more toxicity. 

– They will not provide as much heat as the natural coconut coals. Essentially you have to pick your poison here between both. Either you wait longer for a better heat source (with the natural coal), or you jump into your session faster with a less sustainable fire.

– They are not odorless. Even as soon as you begin to light them, you will likely smell the toxic properties of the quick light coals.

– They can have a negative impact on the flavor. 

So now that we’ve put all the chips on the table, here is our take on which charcoal you should use. 

It’s a no-brainer, unless it is impossible due to certain circumstances (not having a stove available), you should go with the natural coconut coals. Sure, you might have to wait a few extra minutes to get the party going, but it is definitely worth the wait. 

Posted on

Hookah tips for beginners

 So you have just been introduced to the wonderful world of hookahs. There are several reasons why hookahs are awesome. It is great for social get-togethers with friends or just to unwind by yourself after an exhausting day. As fun as they are, we know that using a hookah can seem quite complicated at first glance. There are many parts, accessories and important guidelines to follow in order to properly enjoy your session.

That is why we decided to help you out by listing some important tips based on the most frequent questions beginners ask us when getting started. 

Tip #1. An easy way to make your shisha session much smoother is by adding ice-cold water or simply ice itself at the bottom of your base. You will see a noticeable difference in the smoke when applying this trick.

Tip #2. We strongly recommend mixing different types of flavours together during your sessions. The key when doing this is to place the stronger flavours first, near the bottom of your bowl. This will cause the stronger flavours to intensify the taste of the other flavours in your mix. 

Tip #3. One of the most common mistakes we see beginners do when setting up their hookah for a session, is they over pack the bowl. When filling the bowl, you want to break up the shisha with your fingers and sprinkle it. Simply let it fall into place. 

If you start compacting it in order to stuff even more, you will suffocate the bowl. Without proper aeration, the bowl will not heat properly and it will be difficult to draw out through your hookah.

Tip #4. After you have packed your bowl like a champ, it is time to install the aluminum foil and there are a few important guidelines to follow when doing so. 

First off, the foil should always be placed with the shiny side facing down. If you put the foil upside down, it will prevent the bowl from receiving proper heat from the charcoals. Once your foil is wrapped neatly on top of your bowl, the next step is to puncture tiny holes. 

When poking your holes in the foil, you want to start in the middle and work you way to the outer edge. You want to spread out the holes more and more as you stray from the middle. 

Tip #5. Another common misstep among beginners is how they place the charcoals. It is very important to place them around the edges on your aluminum foil. Avoid putting them in the middle. In addition, it is worth mentioning that you should never move your hookah around while the charcoal is sitting on top of it, bad things happen to good people when doing so. 

As a final quick tip, you should get in the habit of cleaning your hookah and all its parts regularly. Sometimes things can get clogged up so it’s never a bad idea to dismantle everything and give it a quick scrub.

Posted on

Hookah Hygiene tips and tricks

In this article we’re going to discuss some tips and tricks on how to make your shisha sessions healthier so that you may enjoy your hookah without any undesirable side effects.

I’m going to preface this article with what is probably the most important hygienic habit you should adopt. And that is to wash your hookah after every session. We know it is boring and it can be time consuming but using a dirty hookah is not only unhealthy, it will also have a negative impact on your flavours for future sessions.

Here are a few pointers on how to properly clean your hookah;

– Dismantle your hookah completely, let all of your grommets and bowl sit in warm water mixed in with some lemon juice. You can let it soak in there while you clean the rest of your hookah.

– Pour some of that hot water mixed with the lemon juice in your base, swirl it around, and rinse it. Once it is rinsed, you can add more hot water along with some baking soda and scrub it. You can use any regular dish brush for this; just make sure you are not using that brush for anything else other than your hookah.

– Follow the same process to wash your stem. Pour some hot water mixed with lemon juice, shake it up and rinse it. Then add the baking soda, grab your stem brush, scrub the inside and rinse it again.

– If your hose is washable, run some hot water through it, swing it around and then let it dry. 

Now that we have covered the cleaning process, let us go over some unfamiliar tips on how to stay healthy during your sessions.

It is not uncommon for people to experience the so-called “hookah sickness” during shisha sessions. In the majority of cases, it is because of one of the following reasons:

1. Poor hydration. If you know you are going to smoke a certain day, try to increase your intake of water before your session. It is also important to stay hydrated during your session. Gatorade is also a great alternative if water is too boring for you.

2. Smoking shisha on an empty stomach. Traditionally, shisha sessions always followed a big feast. I don’t think this is simply coincidence as using a hookah on an empty stomach can be quite hard to handle. 

3. Insufficient ventilation. If you are smoking your shisha in a small, closed out room, you are asking for trouble. Try to have a window open or some kind of fan running. If both of those options are impossible, at least try to have your session in a much larger room with a higher ceiling.

4. Avoid using quick light coals. Sure, they are easy to use, but that comes with a heavy price. Quick-lights contain benzene, which is quite harmful to your body. The side effects of using quick light coals are similar (not as bad) to that of carbon monoxide poisoning. There are many natural and even coconut coals that you can use which are much healthier. 

So there you have it, follow these guidelines and you should be all set!

Posted on

How to Set Up Your Hookah

So you have just received your first ever hookah! You are eager to try it out and show it off to your friends but before you go ahead and do that, let’s go over some of the essentials in order to properly set up your hookah.

Much like anything else in life, preparation is key. Therefore, if you want your hookah running smoothly and your flavours to taste great, it is critical to not overlook the initial set up.

The first thing you want to do is make sure you are not missing any parts. If you do notice something missing, please contact us here and we will send you the missing equipment. Once you have all your parts sorted out, it is very important to wash everything. This is especially important when using your hookah for the first time. 

You want to wash your base, your hookah and your bowl. In addition, if your hose is washable (look up the product page specifications on the website), it is always wise to give that a rinse as well.

When filling your base with water, you want to fill it to approximately an inch and a half above your down stem. Not having enough water will disrupt the quality of the smoke and if you put too much, it will be very difficult to get smoke out. After a few sessions, you will find your sweet spot. 

Next thing you want to do is properly install your base grommet. It is important to set up your grommet on the shaft first, not on the base. Once your grommet is installed on the shaft and is leveled, you can simply slide the shaft into the base until it’s neatly sealed. It’s also worth noting that you should never carry a hookah by the shaft, always grab it by the base. 

Next step is to insert your hose grommet in your hose port. This will prevent any air from leaking out when pulling smoke during your sessions. Once your hose grommet is in place, you may plug in your hose in the hose port.

As we move up the next part to install is the coal tray. Simply stack it on the top part of the hookah and it should sit nicely.

Once your coal tray is installed, grab your bowl grommet and slide it onto your bowl port. Finally, we have the last piece of the puzzle, the bowl that will sit atop the grommet you have just plugged in. 

So there you have it, you have successfully set up your very first hookah and you are ready to roll. It is never a bad idea to double-check everything before doing your first pulls. Make sure everything is sealed properly, that your water level is good and that all your grommets are well installed.